Ethernet over powerline connection solution for Smart Heat fireplaces
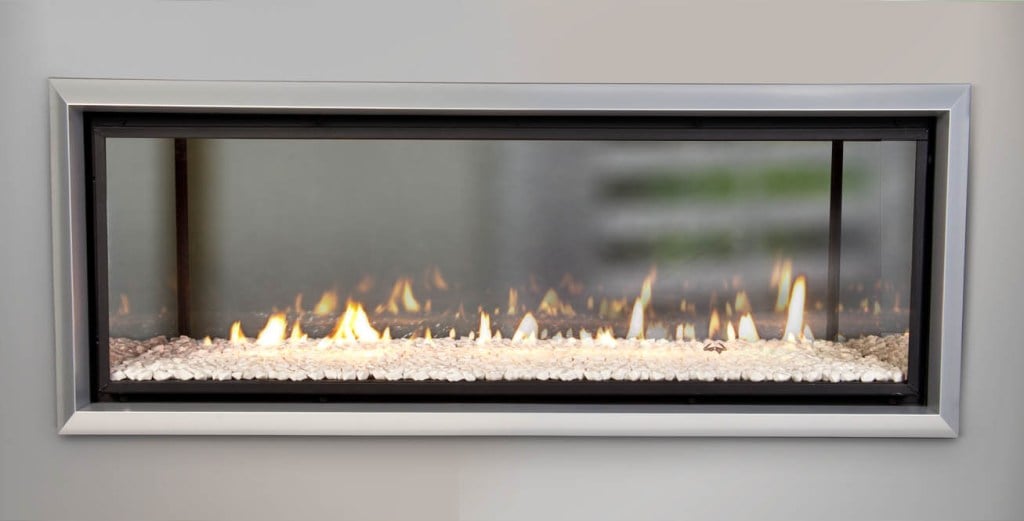
Most of Escea fireplaces are Smart Heat enabled, meaning you can control your fireplace using our smartphone app and web platform. These fireplaces use an Ethernet cable which connects them to a plug-in port on a wireless router. However, getting the Ethernet cable from the router to the fireplace can sometimes be a problem, so we’ve sourced a solution using powerline adaptor cubes.
The powerline cubes create an Ethernet connection between them using the 230V power cable already installed in a house or business. The product referred to in this document is rated to a maximum of about 300metres between the two cubes (other products may vary).
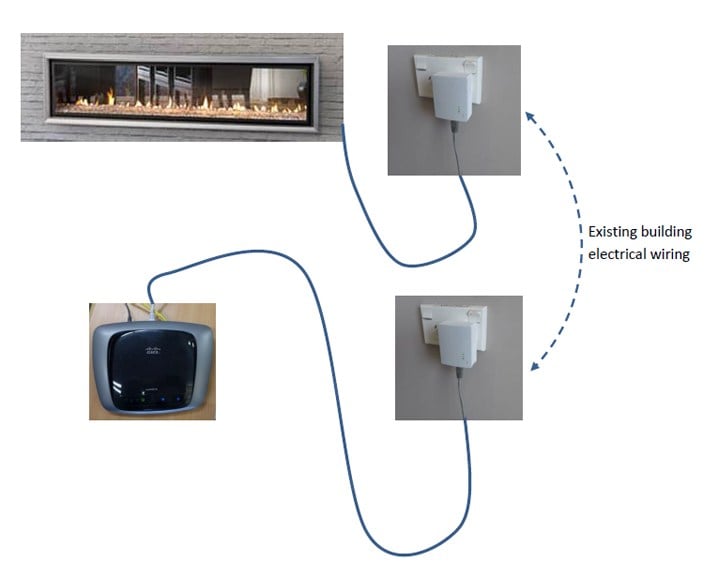
How it works:
- The current router is connected to a cube using a short cable (supplied), and that cube is plugged into a wall outlet.
- The fire is connected to the other cube using a short cable, and that cube is plugged into a nearby wall outlet.
- The two cubes talk to each other via the electrical wiring in the walls, and extend a connection from the router to the fire as if it was a real Ethernet cable connection.
After successful tests, our recommended product is the TP-LINK AV500 Powerline Adapter Starter Kit. The model number of this product is: TL-PA411KIT. This kit contains two power cubes that function as described above. There are other similar products, so feel free to investigate other options. We decided upon the TP-LINK as it is widely available in New Zealand and Australia at a reasonable price.
For the AV500 cubes, the only preliminary work required is to “pair” the cubes together so that they establish a private network between the two cubes.
This is achieved by initially placing the cubes in the same room on 230v outlets. Press the pairing button on one cube only, for at least 1 second, and the power LED will flash. Within 2 minutes, press the pairing button on the other cube for at least 1 second. Full instructions are included with the kit. Once the cubes are paired, the middle light will be on or blinking on both cubes.
Installation:
Plug both cubes in at the powerpoints where they are to be installed (appliance and router).
Turn the power switch on at both outlets, and then check the lights on the back of the cube.
- The TOP light shows that power is applied. It must be on.
- The MIDDLE light should be on, or blinking. This shows that it is connected and talking to the other cube. If it is not on, communication has failed.
- Ignore the bottom light.
Connection:
Plug the router into the cube nearest it using the cable supplied.
Connect the fire to the cube nearest it.
- DX will have a cable already hanging from the right hand side of the fire
- DL will need a cable to be supplied and connected into the tray
- AF will need a cable to be supplied and connected into the tray.
If the middle light on each cube is ON or BLINKING, the cubes are functioning and are making an Ethernet connection between them, extending the fire connection out to the router.
The Smart Heat system is now ready to be trialed on the product.
Disclaimer:
Escea does not have any affiliation with TP-Link, the product used was chosen as an example only. Other manufacturers make competing products that are likely to have exactly the same functionality as the one tested here.
This information only represents an example of use; actual functionality will vary depending on the installation environment. The standard Escea warranty will not cover any aspect of the equipment, installation or mechanisms described.
Our DX Series is no longer available in Australia. Please explore our DS Series here.